


Installation steps of solar panels in greenhouses
- Categories:Industry News
- Author:
- Origin:
- Time of issue:2020-10-19 17:59
- Views:
(Summary description)The main material of the greenhouse-PC sunshine board, Shandong Baike sunshine board uses the German "Bayer" company polycarbonate PC raw material

Installation steps of solar panels in greenhouses
(Summary description)The main material of the greenhouse-PC sunshine board, Shandong Baike sunshine board uses the German "Bayer" company polycarbonate PC raw material
- Categories:Industry News
- Author:
- Origin:
- Time of issue:2020-10-19 17:59
- Views:
Information
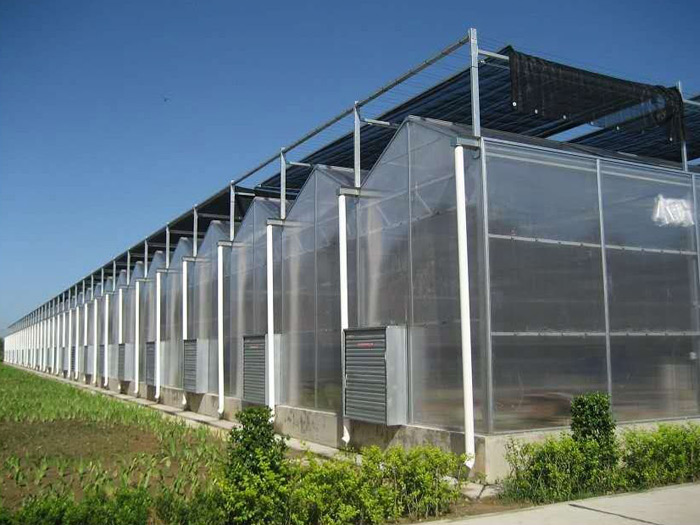
The main material of the greenhouse-PC sunshine board, Shandong Baike sunshine board uses the German "Bayer" company polycarbonate PC raw material, produced through the UV-PC co-extrusion production line, the surface of the board is evenly distributed with high concentration of UV anti-ultraviolet co-extrusion The layer can completely block the damage of ultraviolet rays to the board and extend the service life of the board. Let me introduce to you the installation steps of the greenhouse sun panels.
(1) Construction sequence
Measure and pay off → install the main frame of the sun board roof → adjust, level, and fix the main frame of the sun board roof → install and level the sun board ceiling secondary frame → install the outer layer of the sun board → glue and install the layering → install the inner layer of the sun board → Glue, install layering → fine adjustment and treatment of the external cornice of the sun board ceiling.
(2) Main construction technology of sunshine board
1. Spring line: According to the elevation of the drawing, the size of the sun board ceiling position and the determined center line, the main frame position line of the sun board ceiling will be popped up.
2. Embedded parts: According to the position of the main frame of the sun board ceiling of the elevation control line, check whether the elevation of the upper surface of the back beam of the cave meets the design requirements. If there is a difference, it should be cut or leveled with high-strength cement mortar. Deepen the detailed design of the node details and release the expansion bolt position line for the embedded steel plate size, then drill the hole to place the expansion bolt, install the steel plate and fix it with the expansion bolt. Then cast the center line of the main skeleton to the embedded steel plate.
3. Install the main frame: According to the position line of the main frame of the roof of the pop-up sunshine board, install the two ends first and then the middle part. The method: After assembling the main frame of 60mm×60mm×3mm square steel pipe (galvanized) on the roof, use manpower Place it on the position line, hang the vertical surface with a wire pendant, temporarily fix it in the middle and then weld it with the embedded steel plate. After the main skeletons at both ends are installed, pull the middle and both sides of each 1500mm height (measured from the two ends of the steel plate support) three longitudinal lines, and then install them one by one from one end to the other to complete.
4. Gluing and installation of layering: After fully checking the installation quality of the inner layer of sunshine board, install the inner layer of sunshine board while applying weather-resistant glue, and install special aluminum alloy layering. The screw spacing and position of the bead must meet the requirements of the drawing.
5. Install the outer layer of sunshine board: According to the deepening design layout position, install the outer layer of 20mm thick sunshine board of suitable size. After installation, the edges, longitudinal seams and horizontal seams of the sunshine board are in a line.
6. Install the inner sun board: Install the inner 16mm sun board with the appropriate size according to the position of the drawing. When installing, wipe the bottom of the upper board with a white towel, and at the same time, wipe the inner sun board. Installation is allowed after the clean, lest the interlayer pollution cannot be cleaned, which will affect the macroscopic effect.
7. Gluing and installation of layering: After fully inspecting the installation quality of the outer layer of sunshine board, install the outer layer of sunshine board while applying weather-resistant glue, and then install the special aluminum alloy layering. The screw spacing and position of the installation bead must meet the requirements of the drawing.
No.11 Hengtong Road, Tancheng Economic Development Zone, Linyi City, Shandong Province,China
Tel:0086 15017792129
E-mail:moonybm@outlook.com
Shandong Baike New Material Technology Co., Ltd. 鲁ICP备2020035293号-1 Power by:www.300.cn